

Are you looking for the best consent management platform for your WordPress website? Whether you’re navigating the GDPR, the CCPA, or other privacy regulations, the right tool can simplify compliance while supporting user trust.
We’ve compared the top 8 WordPress CMPs to help you find a solution that fits your budget, legal needs, and technical setup. That way you can publish a privacy-compliant cookie banner with confidence and keep your website up to evolving standards.
Read about General Data Protection Regulation now
How does a WordPress consent management platform work?
A WordPress consent management platform (CMP) works by detecting the cookies and tracking technologies in use on your website. It then presents your website visitors with a cookie consent banner that provides information about the cookies in use and enables them to make consent choices about access to their personal data based on relevant privacy laws.
Then for that visit and subsequent ones, the CMP will block marketing or analytics cookies for that user — if that’s what they chose — unless they later change their consent settings.
Many WordPress CMPs also offer features like:
- Ongoing automatic cookie scanning
- multilingual support
- Integration with tools like Google Tag Manager
- Storage of user consent records in case of audit or data subject requests
Our top picks for WordPress Consent Management Solutions
Here’s a brief overview of how each WordPress CMP compares.
| Name | Key features | Pricing |
| Usercentrics | Automatic cookie scanning and multilingual banner support | Free for <50 subpages Premium Plan from EUR 7/month per domain |
| Complianz | Region-aware banners and legal document generation | Free version with limited features Premium plan from EUR 59/year |
| CookieYes | Daily automatic cookie scans and consent logs | Free for up to 100 pages Paid option from USD 10/month |
| Cookie Information | EU-hosted consent logging and support for 40+ languages | Free <200 pages Paid option from EUR 15/month |
| WebToffee | Flexible layouts and builder integration | Free version with basic features Premium plan from USD 69/year |
| Termly | Automatic policy updates and region-based display logic | Free for <10,000 users/month Paid option from EUR 10/month |
| TrustArc | Enterprise-grade policy and consent workflow management | Custom pricing Free trial not available |
| OneTrust | Cross-domain consent sharing and full branding control | Custom pricing Free trial not available |
The 8 best WordPress consent management platforms
Many WordPress CMPs also offer similar features, use technical terminology, or reference regulations that may not apply to your company.
To simplify the decision-making process, we’ve compared eight of the most widely recognized WordPress cookie consent solutions. For each platform, we’ve outlined key features, potential areas for improvement, and pricing.
Usercentrics
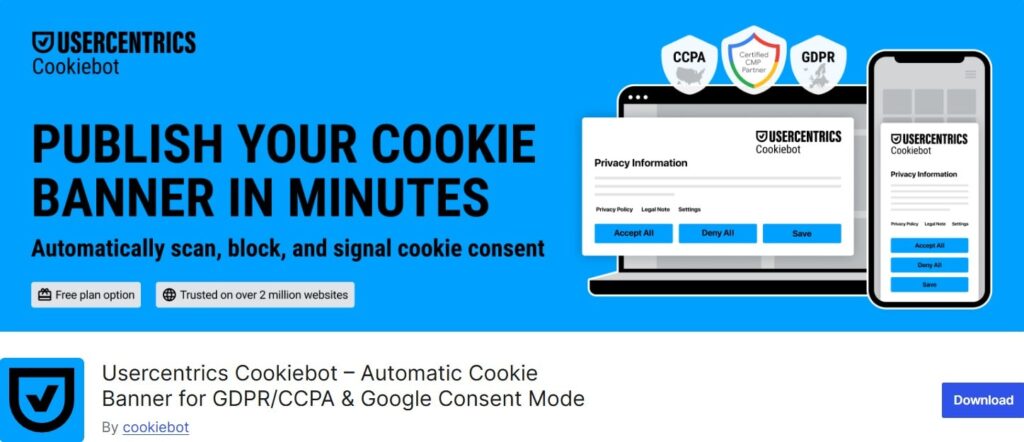
Usercentrics Cookiebot CMP is a cloud-based consent management platform (CMP) that easily integrates with WordPress. Our WordPress CMP plugin supports compliance with global privacy laws and frameworks like the GDPR, ePrivacy Directive, TCF v2.2, LGPD, POPIA, and US state privacy laws. It’s a powerful solution for companies with an international presence.
Additionally, our automated cookie scanner detects all cookies and trackers in use on your website and can categorize them for you. Ongoing scans keep this list up to date as your technologies in use change. This keeps your cookie policy up to date at all times without manual effort.
Key features
- Regular automatic cookie scanning
- Create cookie banners in up to 60 languages
- Extensive integrations with Google tools, such as Consent Mode and Google Tag Manager
- Compliance support for multiple regulations and frameworks worldwide
- Customizable banner templates to match your branding
Pricing
- Usercentrics Cookiebot CMP offers a 14-day free trial that includes premium features
- The plugin also offers a free plan for websites with up to 50 subpages, with a banner template enabling limited customization
- The Premium plan includes more advanced features, like analytics and geotargeting, and starts at EUR 7/month per domain
| Pros | Cons |
| Supports compliance with multiple global privacy laws | Free plan is limited to sites with fewer than 50 subpages |
| Extensive banner customization options to align with your branding | Lowest tier plan enabled for only one domain and one regulation |
| The plugin supports dozens of languages | Some users have expressed confusion about pricing |
Complianz
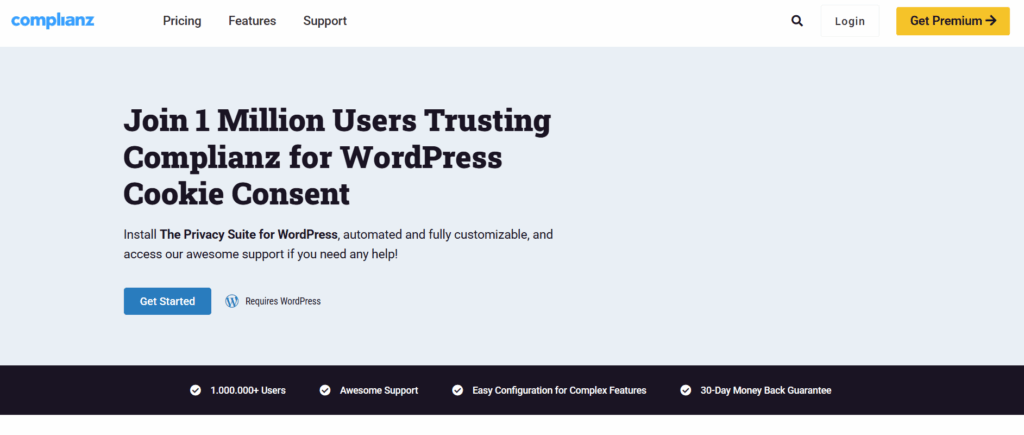
Complianz is a flexible and WordPress-native CMP designed for websites looking for compliance without the technical headache.
This CMP automatically adjusts cookie banner behavior based on the visitor’s region and handles the legal heavy lifting, including generating privacy policies and cookie statements. Built with a guided setup wizard, it’s a good match for site owners who prefer a structured approach to privacy compliance.
Key features
- Region-specific cookie banners (EU, UK, US, Canada, etc.)
- Automatic cookie scanning and categorization
- Legal document generation (privacy policy, cookie statement, etc.)
- Google Consent Mode and IAB TCF v2.2 support
Pricing
- Offers a free version, which includes essential compliance features
- Premium plans start at EUR 59/year for a single site license
- Paid plan provides additional options, such as A/B testing for banners, geotargeted consent options, and increased customization
- Prices go up to EUR 399/year for agencies managing multiple websites
| Pros | Cons |
| Region-aware compliance with minimal manual work | Limited customization options for banner appearance in the free version |
| Drafts legally valid documents automatically | The premium version is required for advanced features |
| Easily integrates with WordPress and other popular plugins | Some technical knowledge is required for setup, making it a less user-friendly option for teams with limited technical resources |
CookieYes
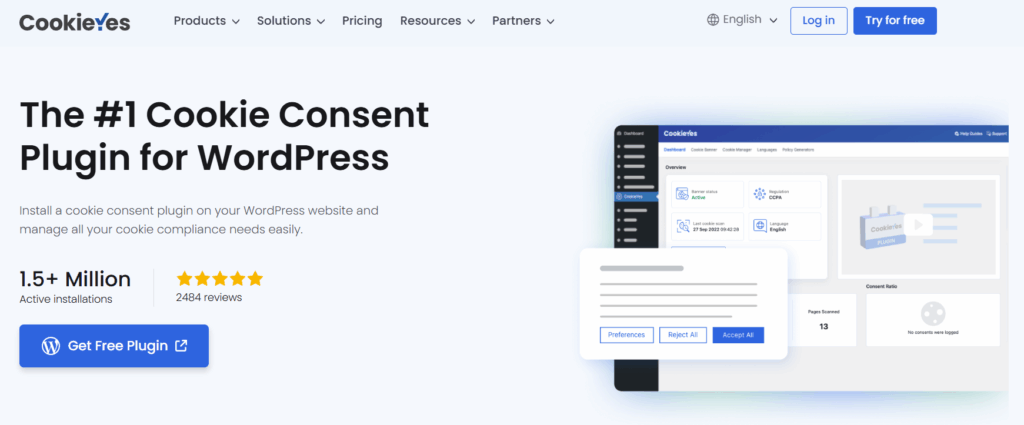
CookieYes offers a plug-and-play CMP experience designed for ease. With automatic scanning, ready-made templates, and a simple interface, it’s ideal for marketers or business owners who need to achieve privacy compliance fast.
Behind the scenes, the CookieYes CMP also offers helpful features like consent logs and geo-based banner targeting. These features make it a solid step up from basic banner plugins, especially for businesses operating in more than one region.
Key features
- Automatic daily cookie scan
- Customizable banners with geotargeting
- Integration with Google Consent Mode v2
- Support for over 30 languages
Pricing
- CookieYes offers a free 14-day trial
- Offers a free plan with basic features for up to 100 pages
- Paid plans start at USD 10/month per domain for advanced customization and analytics
- Prices go up to USD 55/month for multiple domains and pages to be scanned
| Pros | Cons |
| Quick to set up and easy to use | Limited options for smaller websites on the free plan |
| Automatic daily cookie scan | Analytics and advanced reporting are only available in paid versions |
| Consent logs help support compliance reporting | Does not block all third-party service scripts automatically, manual setup is required to block some specific technologies |
Cookie Information
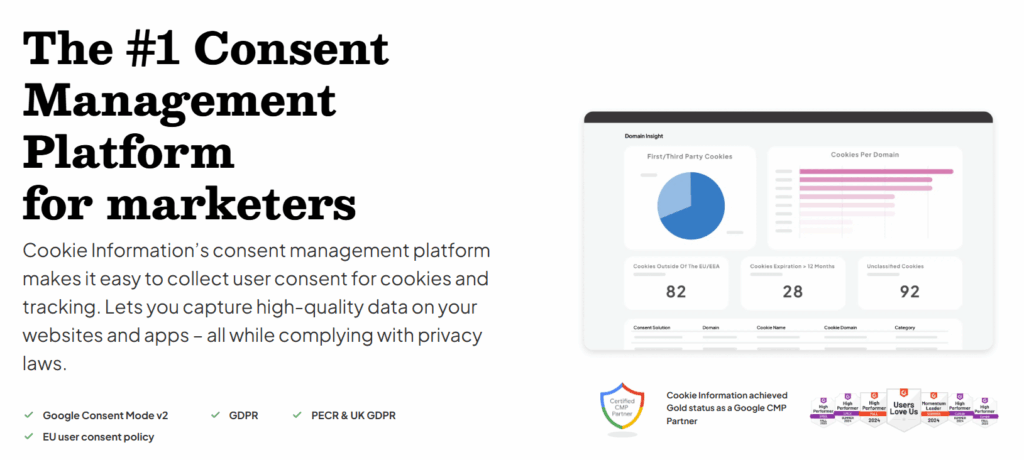
Cookie Information is a European-based CMP designed to handle strict compliance needs with minimal fuss. It’s known for strong alignment with the GDPR, storing consent data in EU-based servers, and earning Google Consent Mode v2 certification.
The platform is ideal for businesses that need robust data control and compliance across several regions. It scales well with enterprise requirements like subdomain management and multilingual deployment. However, it is limited to companies with a presence in the EU.
Key features
- Automatic cookie scan and categorization
- Full banner customization with styling and branding options
- Secure consent storage on EU-based infrastructure
- Consent logging for audit trails
- Support for 40+ languages
Pricing
- Cookie Information offers a 14-day free trial
- Free plan available for websites with fewer than 200 pages
- Paid plans start at EUR 15/month per domain
- The maximum cost is EUR 34/month for more complex setups
| Pros | Cons |
| Designed for EU privacy compliance and enterprise standards | Not a good match for international companies with a footprint outside the EU |
| Secure data storage on European servers | Interface leans technical, with fewer beginner-friendly tools |
| Certified integration with Google Consent Mode | Advanced features like analytics and A/B testing only available on paid tiers |
WebToffee
WebToffee’s GDPR Cookie Consent plugin is another popular WordPress CMP among users who are looking for reliable privacy compliance tools without unnecessary complexity.
It offers flexible design options, automatic cookie scanning, and multilingual support. It’s a solid choice for agencies and developers managing multiple client sites. Plus, its WordPress compatibility makes it easy to integrate with page builders and popular themes.
Key features
- Customizable cookie banners with multiple layout options
- Automatic cookie detection and grouping
- Integration with Google Consent Mode v2 and Tag Manager
- Compatible with WPML, Polylang, and other translation plugins
Pricing
- Free version available via WordPress.org
- Premium version starts at USD 69/year for a single site, with options for multisite licenses available
| Pros | Cons |
| Easy for developers to extend and customize | No free trial |
| Reliable updates and strong WordPress integration | Admin interface is outdated compared to newer tools |
| Includes features for accessibility compliance | Initial setup may be overwhelming for non-technical users |
Termly
Termly is built for small businesses that want to stay privacy compliant automatically. Unlike most CMPs, it includes a suite of legal policy generators and automatically updates those policies to reflect changing laws.
Its hosted cookie banner and documentation also make it a hands-off solution for site owners who want to stay legally compliant with minimal involvement.
Key features
- Hosted cookie banner with region-specific display logic
- Automatic updates to privacy policies and terms
- Integration with Google Consent Mode
- Simple embedding via WordPress plugin or code snippet
Pricing
- Free for up to 10,000 unique visitors per month
- Paid plans start at EUR 10/month and the Pro+ plan is EUR 15/month
| Pros | Cons |
| Combines consent and legal documentation in one platform | Policies are hosted, not embedded directly on your site |
| Good choice for non-technical users who want a simple solution | Limited design flexibility without a premium plan |
| Keeps legal policies up to date automatically | Some reviews mentioned a lower page speed after installing the plugin |
TrustArc

TrustArc is a full-service privacy management platform designed for enterprises. Its WordPress CMP capabilities are just one part of a much broader solution.
While the TrustArc CMP can be implemented on WordPress, its real strength is its central dashboard that spans risk assessments, data mapping, and consent workflows. It’s ideal for organizations under strict regulatory scrutiny or those handling high volumes of personal data.
Key features
- Scalable consent and risk management tools
- Centralized dashboard for global policy management
- Integrates with IAB TCF v2.2 and Google Consent Mode
- In-depth reporting and audit logs
- Multi-language and cross-domain banner support
Pricing
- Custom pricing based on business size and required features
- No free plan available
| Pros | Cons |
| Strong choice for enterprise companies with complex compliance needs | Not suitable for smaller companies |
| Supports broad data privacy and risk workflows | Requires significant implementation effort |
| Provides detailed audit trails for accountability | Advanced features are not necessary small to mid-sized WordPress sites |
OneTrust
OneTrust is one of the most widely adopted CMPs across industries because of its scalability and broad regulatory support.
The CMP is part of a larger ecosystem of privacy, security, and governance tools, which makes it attractive to enterprises managing compliance across multiple regions and digital properties. While WordPress integration is possible, OneTrust shines when deployed across ecosystems.
Key features
- Custom consent banners with full branding control
- Automated cookie discovery and policy updates
- Support for compliance with the GDPR, CCPA, LGPD, and Google Consent Mode
- Advanced analytics and A/B testing for banner performance
- Cross-domain consent sharing
Pricing
- Pricing is customized and typically geared toward mid-sized to large organizations
| Pros | Cons |
| Ideal for organizations with broader compliance needs | Not suitable for smaller companies |
| Highly customizable and scalable | Requires technical resources to implement correctly |
| Strong support for multinational privacy laws | Not ideal for WordPress-only sites with limited needs |
How to pick the best WordPress consent management platform?
To choose the best WordPress CMP, consider your website’s size, audience, and compliance requirements. Here are a few tips:
- For small websites with limited budgets, look for free plans that offer the basics like cookie banners and auto-scanning
- If you operate internationally, you’ll need multilingual support and compliance with multiple regulations
- Agencies and developers may prioritize customization and integration options
- Enterprises will need a scalable solution with analytics, audit trails, and risk management
- If ease of use matters most, opt for a tool with pre-built templates, guided wizards, or hosted policies
In short, match the platform to your technical comfort level, legal exposure, and growth plans. Don’t be afraid to start with a free tier before committing long term. Usercentrics offers a 14-day free trial, so you can see for yourself how key features can support your business.

Join our growing community of data privacy enthusiasts now. Subscribe to the Usercentrics newsletter and get the latest updates right in your inbox.
